Contributor Guide
Introduction
This short guide looks at how you can contribute to this project.
Signing up
You do not need to join the working group to make contributions to this repository, but you are welcome to do so by going here
Commenting on issues
Issues are available to anyone with a public Github account. You can simply comment or even open new issues if you have an opinion on a subject there.
You can also join in the more wide ranging discussions
Contributing
If you wish to get involved in the content produced by the working group, you can find out how to do so in this short guide.
Signing up
If you wish to contribute content to the site you can either request to be added to the repository directly on this issue, or fork the repository, make your changes and then request to merge your changes in
Adding content
Typically the workflow we expect contributors to follow is
1. [Optional] Make an issue on the topic they wish to contribute on
This is only needed if there is not already an issue, so can be skipped otherwise!
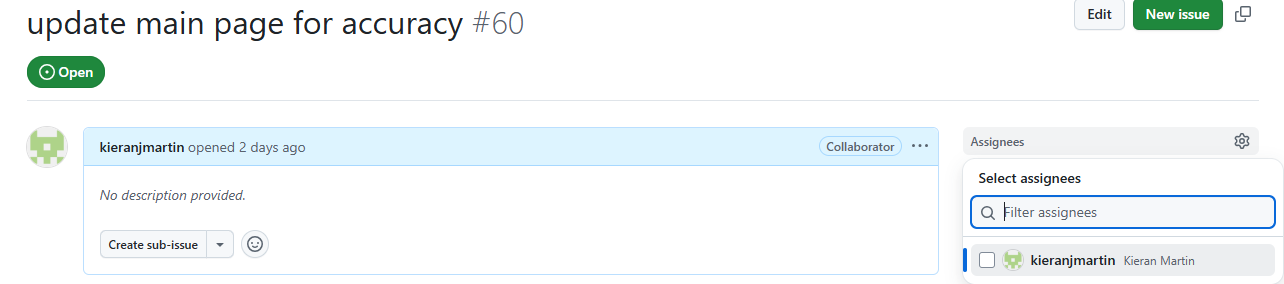
2. Assign yourself to the issue
Assigning yourself to an issue makes it clear that you are working on this, and lets others know to work on another project. While individuals can work on the same issue, it will require direct collaboration and it is normally easy to work independenly.
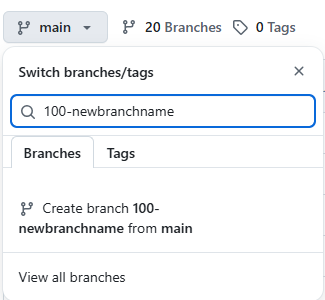
3. Make a new branch to work on
If you are not familiar with branches, they are basically seperate working areas and allow you to work independently without impacting other users. Read this guide for more.
The new branch should be off of main, and should normally be made on Github. The naming convention is
4. Start working!
How you work depends on your setup.
Working on github
If you don’t want to deal with setup, you can edit files directly on Github.
When you switch to the branch you created, you can directly edit and make new files on github. This is the easiest way to work, but you will not be able to preview the websites you have created. If you wish to add images you will also need to upload them manually.
Working locally
Alternatively, you can install Git and Quarto locally.
Then you can clone the repository with the command (note, before doing so you will need to set up ssh keys)
git clone git@github.com:phuse-org/git-in-statistical-programming.git
Then switch to your branch
cd <folder name>
git checkout <branch name>
Once you have made changes you wish to get back on the website, you can use
git add . git commit -m <A message describing what you did> git push
to get the changes you’ve made on the website.
Working with Quarto
This site is written in Quarto. There are some great tutorials on the Quarto website.
In particular, there are two parts to this site
Blog
The blog and website content is under /site. If you wish to make a new blog post go to /posts and make a new folder with the name of the blog post you want. You can copy the content in an existing folder to get you started in terms of needed formatting.
White paper
The white paper content is under /white-paper. Each chapter is a seperate file in that folder. If you want to make a new chapter, you will need to make a new chapter, and then add that name to /white-paper/_quarto.yml, which will ensure that it appears on the main site.
Rendering the site
If you want to render the site locally to preview it, you will need to do so in two parts
quarto render sitequarto render white-paper
The content will automatically be created under /docs.
NOTE: /docs is gitignored on purpose. The content will be generated on Github, and does not need to be commited!